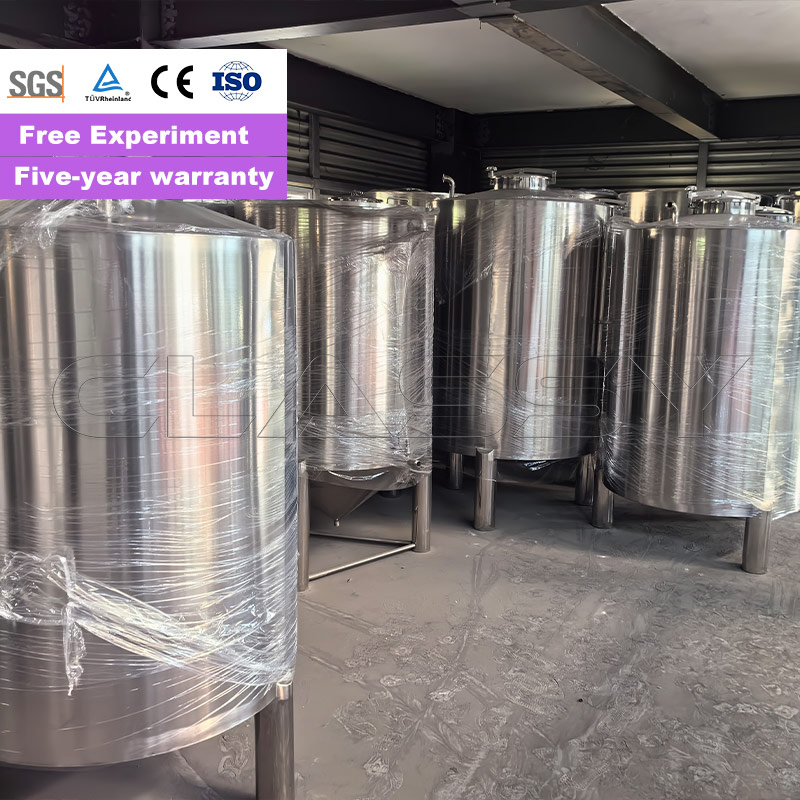
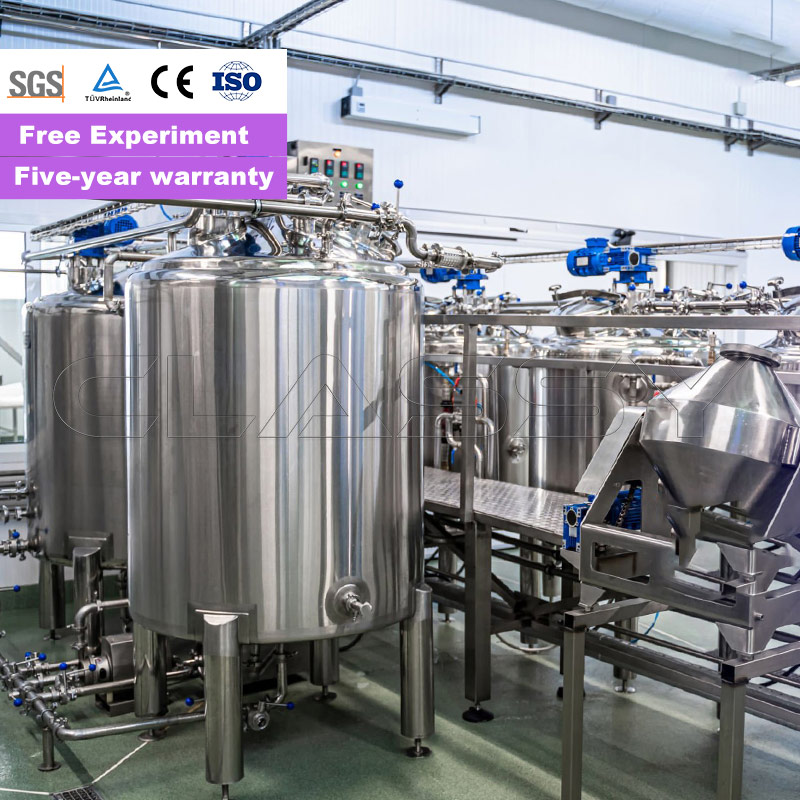
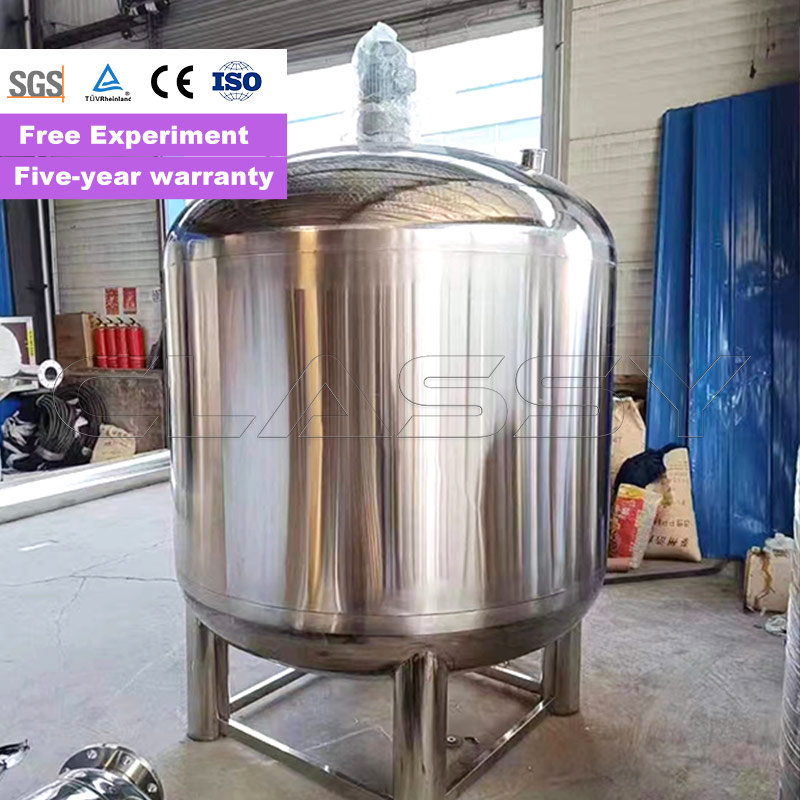
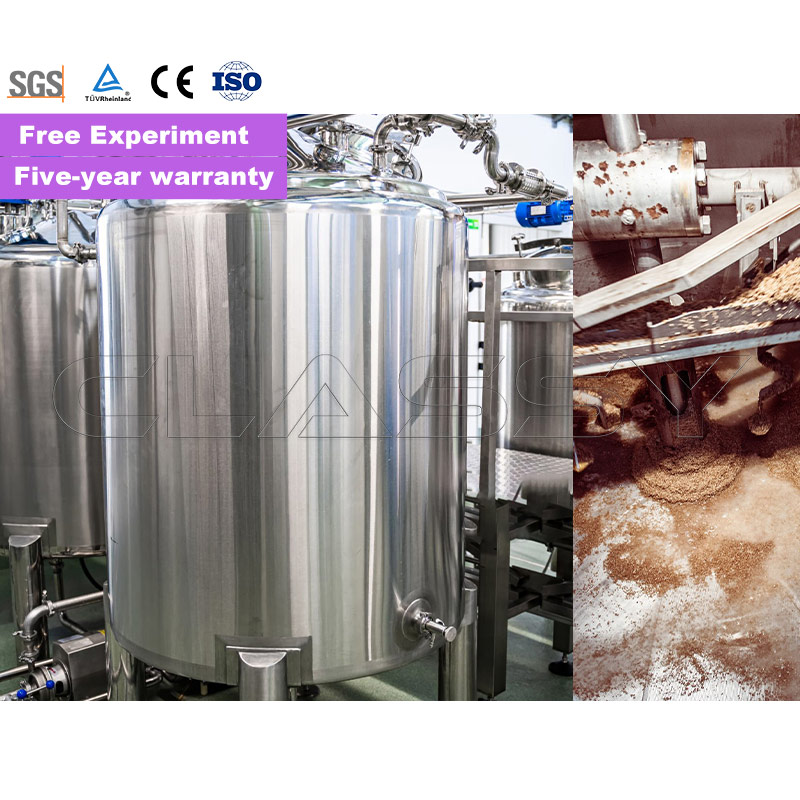
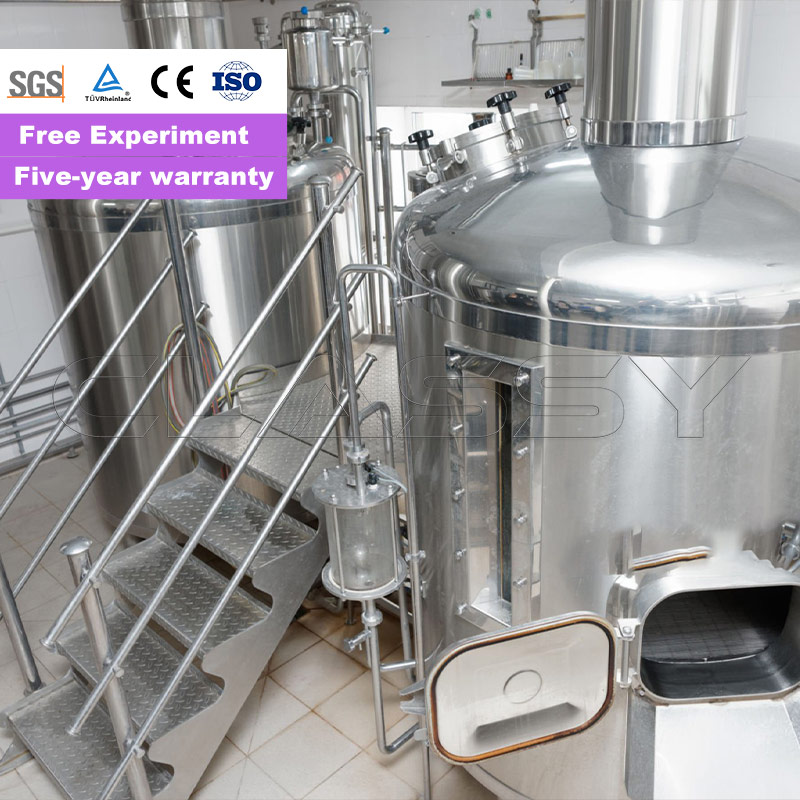
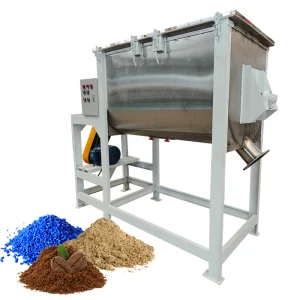
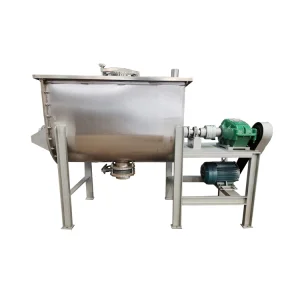
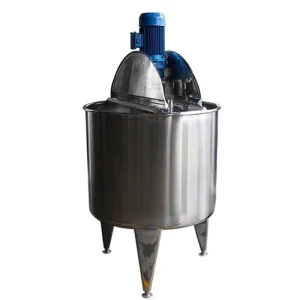
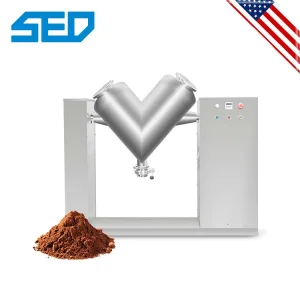
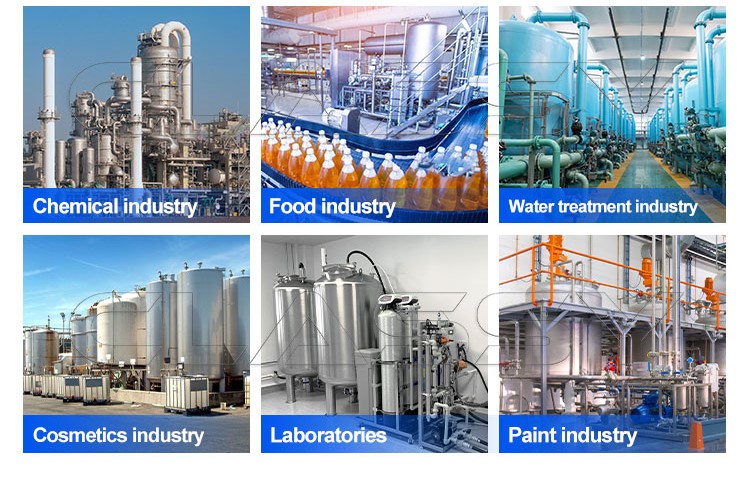
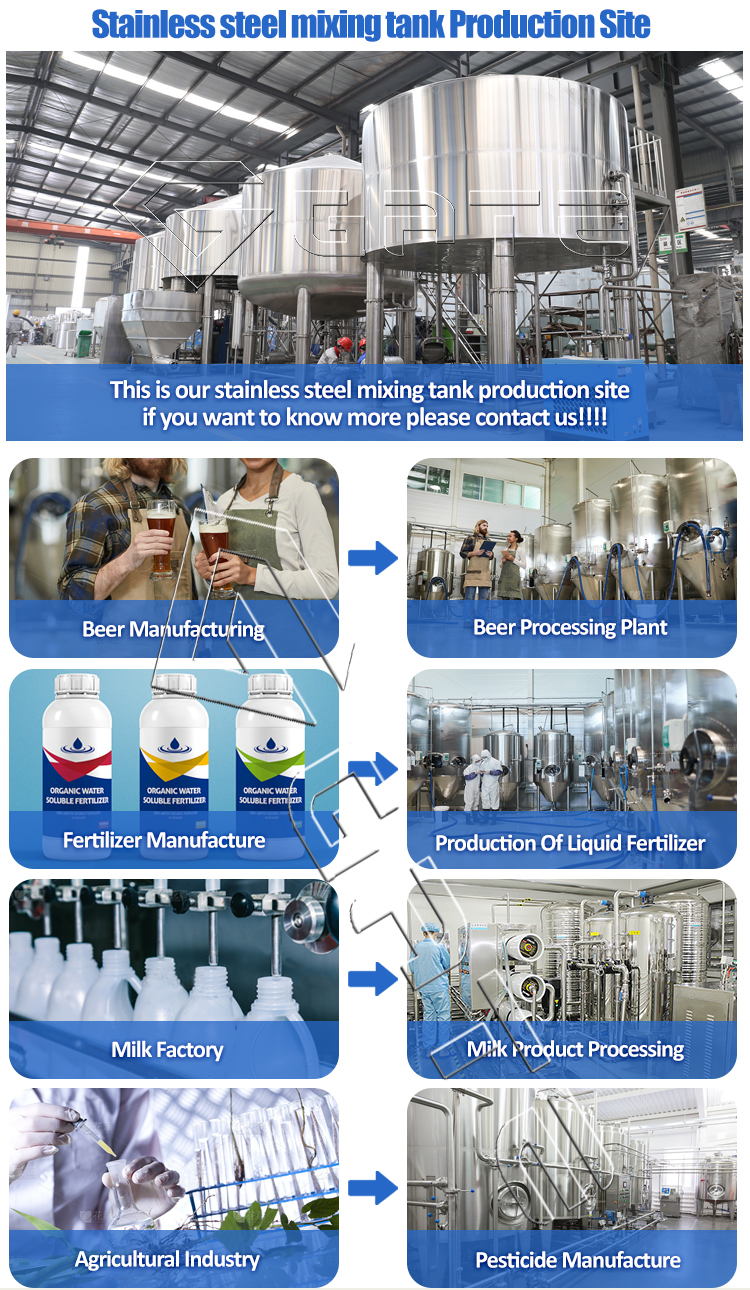
Application Scenarios
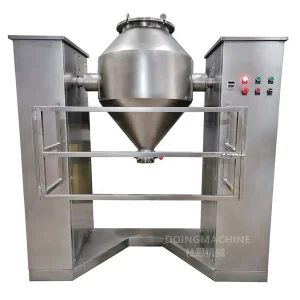
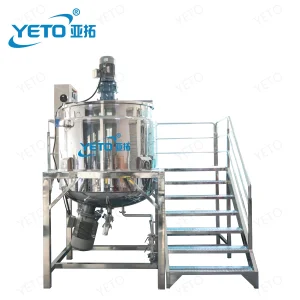
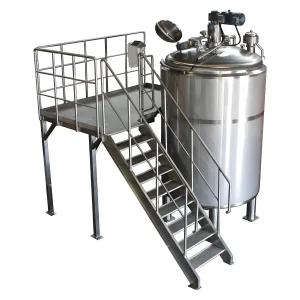
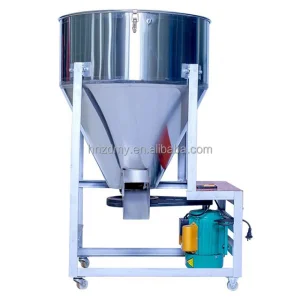
Stainless steel mixing tanks are used in almost every field. Their design, material, pressure rating (normal pressure, low pressure, high pressure), temperature range (normal temperature, high temperature, low temperature), capacity, and special requirements vary greatly depending on their specific application. They are an indispensable part of modern industrial production and daily life.
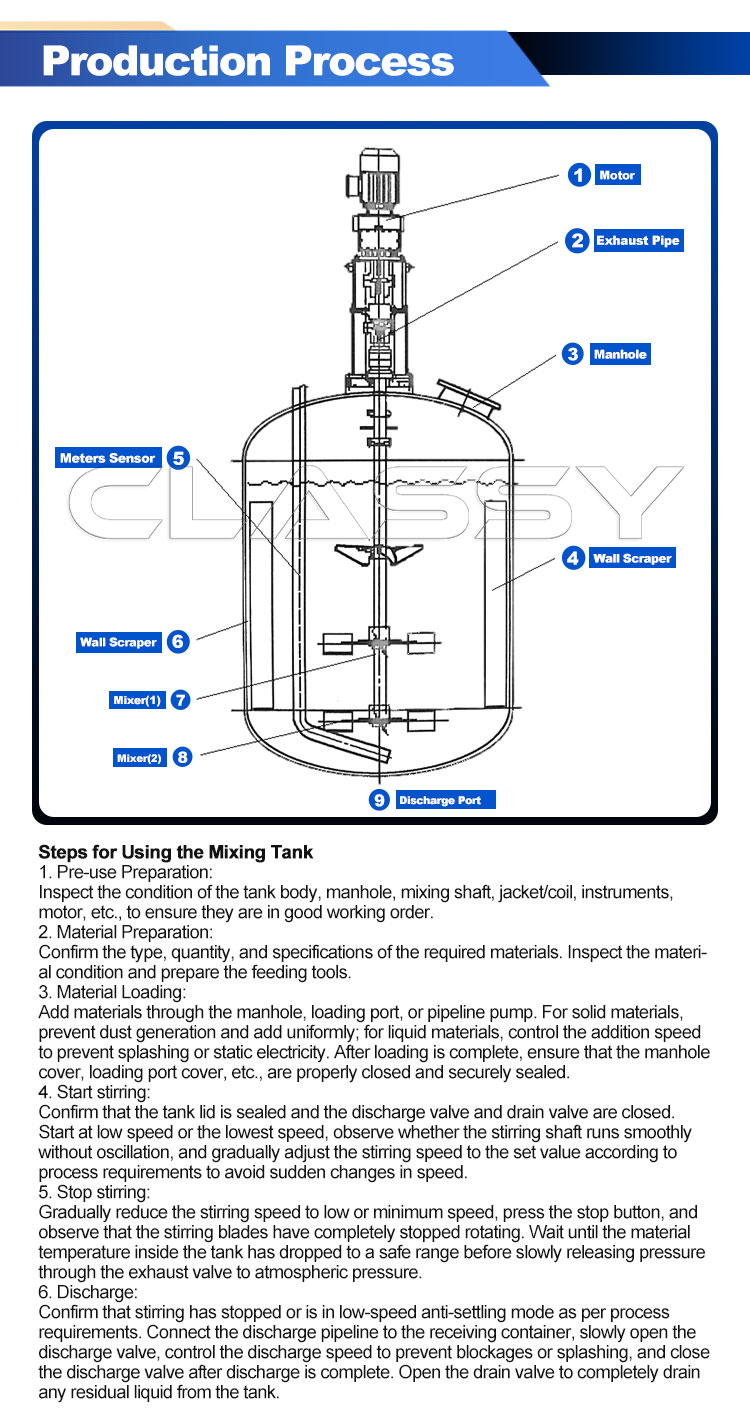
Steps for Using the Mixing Tank
-
1
Pre-use Preparation
Inspect the condition of the tank body, manhole, mixing shaft, jacket/coil, instruments, motor, etc., to ensure they are in good working order.
-
2
Material Preparation
Confirm the type, quantity, and specifications of the required materials. Inspect the material condition and prepare the feeding tools.
-
3
Material Loading
Add materials through the manhole, loading port, or pipeline pump. For solid materials, prevent dust generation and add uniformly; for liquid materials, control the addition speed to prevent splashing or static electricity. After loading is complete, ensure that the manhole cover, loading port cover, etc., are properly closed and securely sealed.
-
4
Start stirring
Confirm that the tank lid is sealed and the discharge valve and drain valve are closed. Start at low speed or the lowest speed, observe whether the stirring shaft runs smoothly without oscillation, and gradually adjust the stirring speed to the set value according to process requirements to avoid sudden changes in speed.
-
5
Stop stirring
Gradually reduce the stirring speed to low or minimum speed, press the stop button, and observe that the stirring blades have completely stopped rotating. Wait until the material temperature inside the tank has dropped to a safe range before slowly releasing pressure through the exhaust valve to atmospheric pressure.
-
6
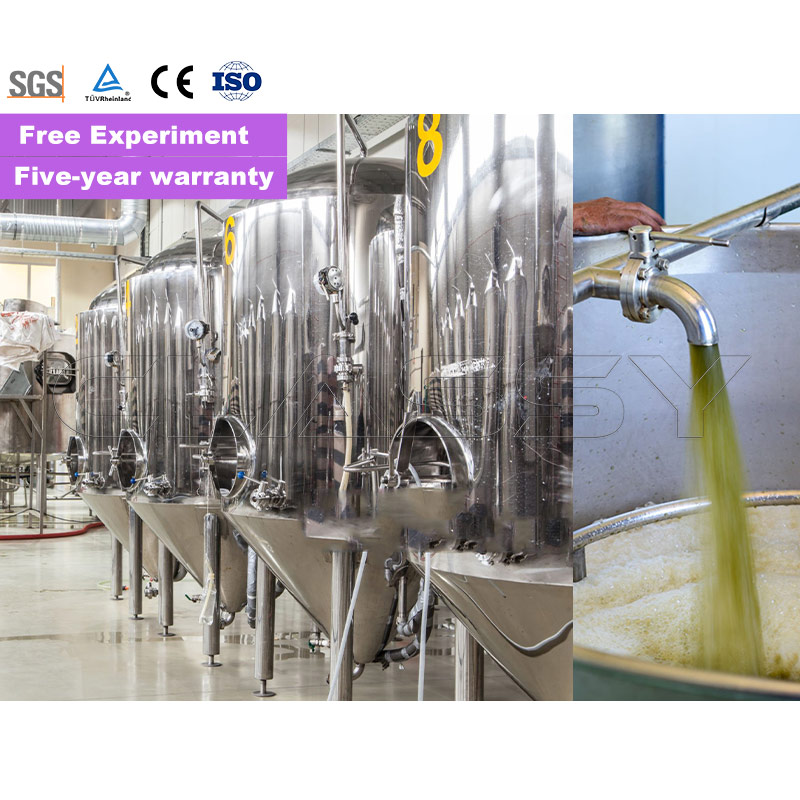
Discharge
Confirm that stirring has stopped or is in low-speed anti-settling mode as per process requirements. Connect the discharge pipeline to the receiving container, slowly open the discharge valve, control the discharge speed to prevent blockages or splashing, and close the discharge valve after discharge is complete. Open the drain valve to completely drain any residual liquid from the tank.

FAQ
QCan I use this production line to produce multi granularity particles?
Yes, our production line is multifunctional. We can customize ring moulds of different sizes. In this way, you can easily adjust the size of your ball.
QI know little about the fertilizer production line. How to choose the most suitable machine?
Just tell us your raw materials, capacity (tons / hour) and the size of the final particle product, and we will choose the machine for you according to your specific situation.
QOur workers don't know how to operate the production line. What should I do?
Our engineers will instruct the site workers on how to install the machines and build the workshop. And field test the production line, training workers how to operate.
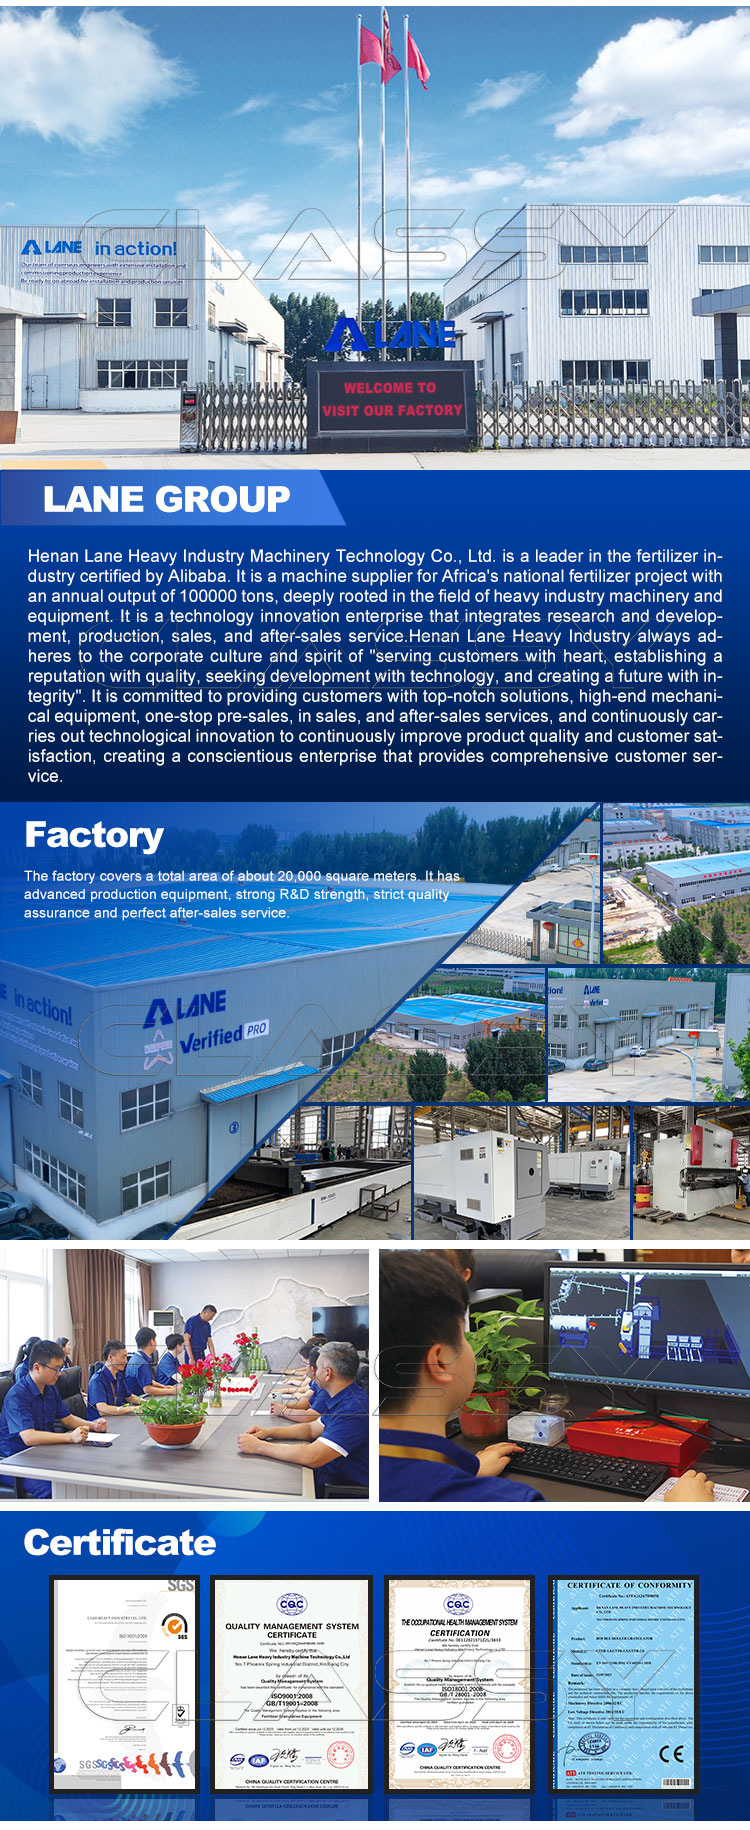
QAre you a trading company or a manufacturer?
We have a large factory covering an area of 10000 square meters.
QWhat's the Production Period of the Fertilizer Machine?
For single fertilizer machine, our production time is 7 days; and for whole fertilizer production line, our production time is no more than 30 days.
QWhat's the Quality Guarantee and Certifications?
All of our machine have passed ISO and CE certification, we can guarantee the highest quality and our warranty time is 5 years after shipment date.